
LaTeX 常用语法格式总结
LaTeX 常用语法格式总结
作为一名 LaTeX 深度爱好者,却因为常常忘记 LaTex 相关语法而被迫停止写作去浪费一定的时间查询相关内容,但长久以来,我发现自己常常查询的也就是这些常用而难以熟记的语法,现将其总结如下:
本文基于用相关模板时所需的语法,部分修改文章整体格式的内容不收录于此,部分相关内容或以链接形式导出。
列表与计数
列表
enumerate与itemize默认结构
enumerate 默认为带序号列表,itemize 默认为无序号圆点列表,默认使用方法如下所示:
% 有序列表基本结构
\begin{enumerate}
	\item a
	\item b
	\item c
\end{enumerate}
% 无序列表基本结构
\begin{itemize}
    \item a
    \item b
\end{itemize}
enumerate与itemize自设定结构
有时,我们需要将有序列表前的序号改写为(1)(2)而并非1. 2. 时,或者我们需要将无序列表前的符号改写为 * 而非圆点时,我们将使用下面的自设定结构:
方案一:
% enumerate宏包支持
\begin{enumerate}[(1)]%在中括号内设定
	\item a
	\item b
\end{enumerate}

\begin{enumerate}[I.]%在中括号内设定
	\item a
	\item b
\end{enumerate}
方案二:
% 在每个item后加中括号使用,自由度更高,自动化程度较低
\begin{enumerate}
	\item[(2)] a
	\item[(3)] b
\end{enumerate}

\begin{itemize}
 \item[*] a
 \item[!] b
\end{itemize}
方案三:
% 此等妙计,只可意会,不可言传
\begin{enumerate}
	\renewcommand{\labelenumi}{[\theenumi].}
	\item a
	\item b
\end{enumerate}

列表截距细调请见博客 Latex中enumerate的一些参数设置
计数
LaTeX中自动编号都借助于内部的计数器来完成,包括:
- 章节:part, chapter, section, subsection, subsubsection, paragraph, subparagraph
- 编号列表: enumi, enumii, enumiii, enumiv
- 公式和图表: equation, figure, table
- 其他: page, footnote, mpfootnote
用\the接上计数器名称的方式来调用计数器,例如\thechapter。
常用计数器命令
- newcounter{}[] 建立新的计数器
\newcounter{foo}[counter]
这命令定义一个新的计数器名叫 foo 并将其值初始化为 0。 可选的参数 counter 为另一个计数器,counter 比 foo高一级,每当 counter 的值增加时, foo 计数器就将被复位。
- setcounter{}{} 赋给计数器的值
\setcounter{counter}{value}
这条命令将计数器 counter 的值设置为 value。
例:
\section{AAA} \section{BBB}\setcounter{section}{-1} \section{AAA} \section{BBB}
- 其他常用计数器命令见 计数器命令
另外,修改 section 等样式见 LaTeX使用titlesec宏包改变章节编号形式的方法
图
一张图
% 添加所需宏包
\usepackage{graphicx}

\begin{figure}[H]
    \centering
    \includegraphics[width=\textwidth]{}% 文件位置
    \caption{\centering } % 标题
    \label{} % 标签
 \end{figure}
- [htbp] 为调整图片排版位置选项,说明如下:
[h]当前位置。将图形放置在正文文本中给出该图形环境的地方。如果本页所剩的页面不够,这一参数将不起作用。
[t]顶部。将图形放置在页面的顶部。
[b]底部。将图形放置在页面的底部。
[p]浮动页。将图形放置在一只允许有浮动对象的页面上。
这一条中,图片位置为latex自动排版,如若我们一定要指定图片在当前位置,仅使用 [h] 命令是达不到效果的,此时方法如下: a) 引入float宏包; b) 将
\begin{figure}[htbp]改为\begin{figure}[H],注意是大写的H。
\centering为图片居中命令;\includegraphics[width=0.5\textwidth]{1.eps}用于插入图片,可用 [] 添加图片尺寸;花括号中为图片相对路径,通常应将图片放在与latex文档相同的路径下,图片格式采用.eps矢量格式会更清晰;\caption命令用于插入图注,其应用在``\includegraphics的下方即将图注插在图片下方,反之亦然。在其中加入\centering` 命令可使图片标题居中。
双栏图片变单栏时,只需要将
\begin{figure}[htb]转变为\begin{figure*}[htb].
多图并列
一张图片显然不能满足我们的要求,我们接下来要使用的是多图并列,让每个小图都有自己的小标题以及,整个图形有个大标题。
双图横排:
% 需要宏包
\usepackage{subcaption}
\usepackage{graphicx}

\begin{figure}[H]
    \begin{minipage}[c]{0.45\textwidth}
        \centering
        \includegraphics[width=1\textwidth]{}% 文件位置
        \subcaption{\centering }% 小标题
    \end{minipage}
    \begin{minipage}[c]{0.45\textwidth}
        \includegraphics[width=1\textwidth]{}% 文件位置
        \subcaption{\centering }% 小标题
    \end{minipage}
    \caption{\centering }% 大标题
  \end{figure}

\begin{figure}[H]
    \begin{minipage}[c]{0.45\textwidth}
        \centering
        \includegraphics[width=1\textwidth]{}% 文件位置
        \subcaption{\centering }% 小标题
    \end{minipage}

    \begin{minipage}[c]{0.45\textwidth}
        \includegraphics[width=1\textwidth]{}% 文件位置
        \subcaption{\centering }% 小标题
    \end{minipage}
    \caption{\centering }% 大标题
  \end{figure}
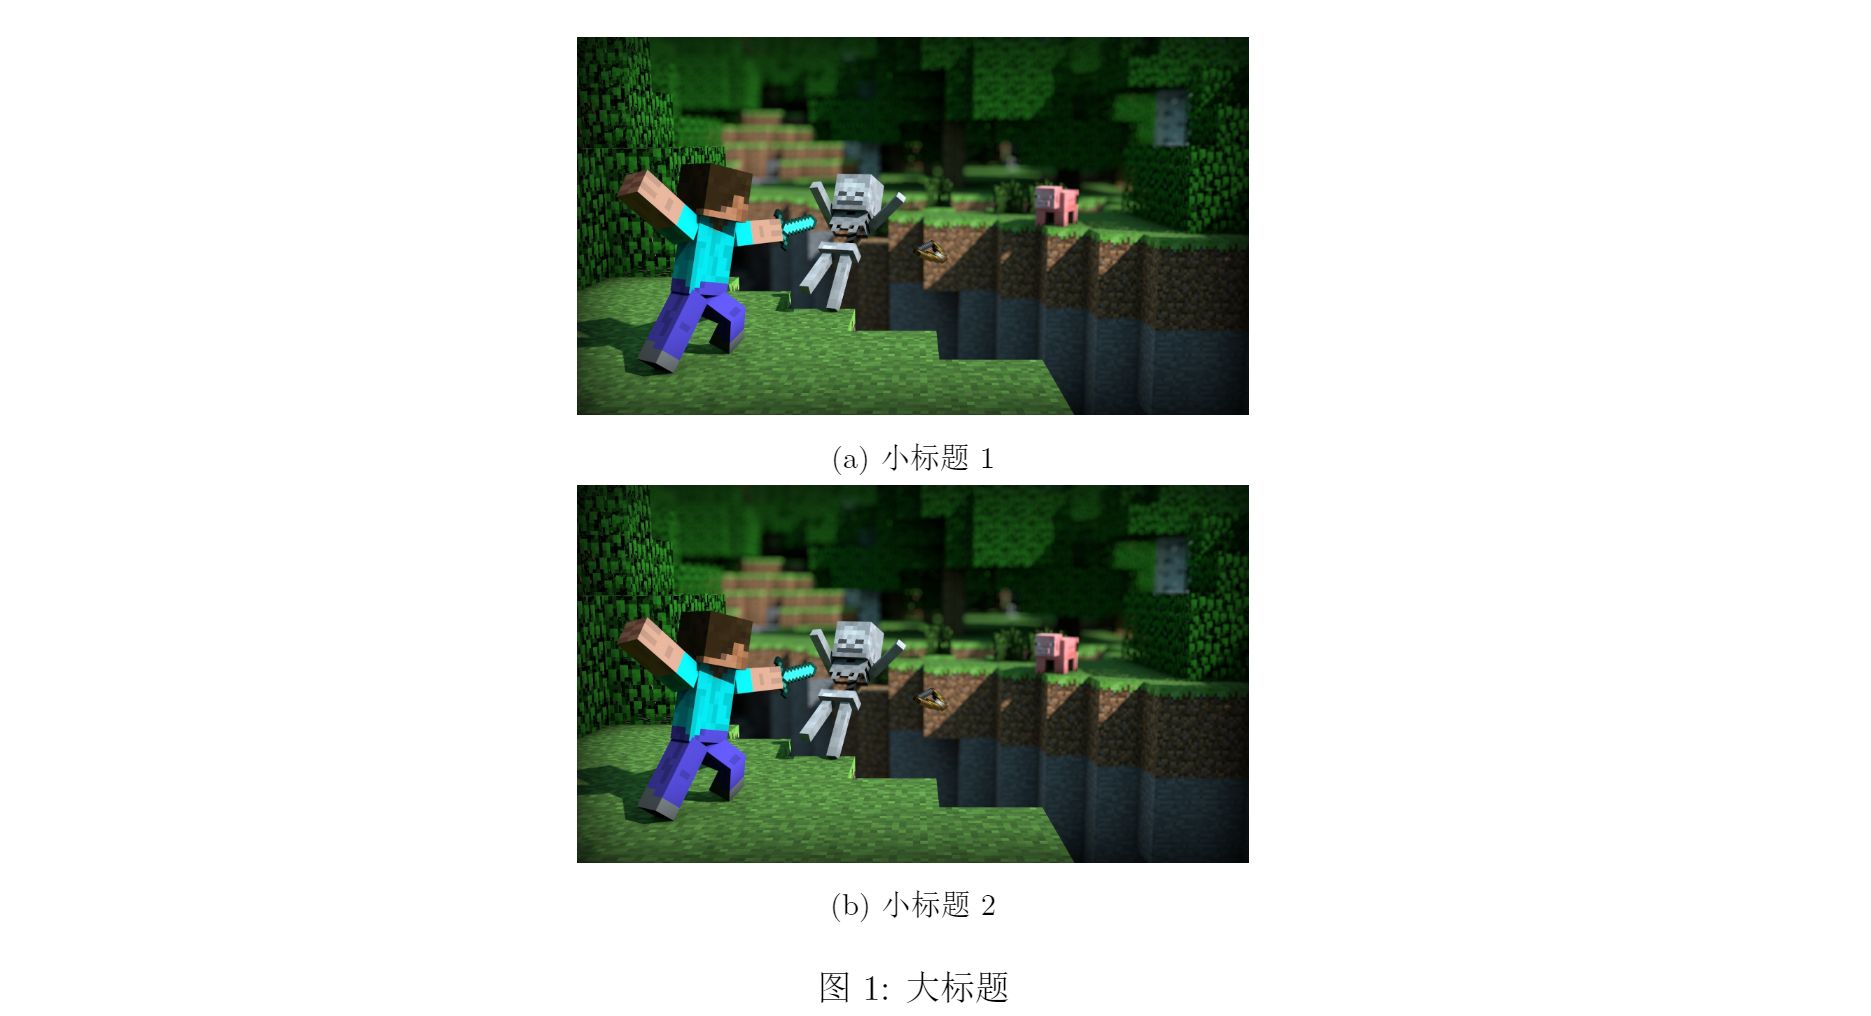
双图竖排:
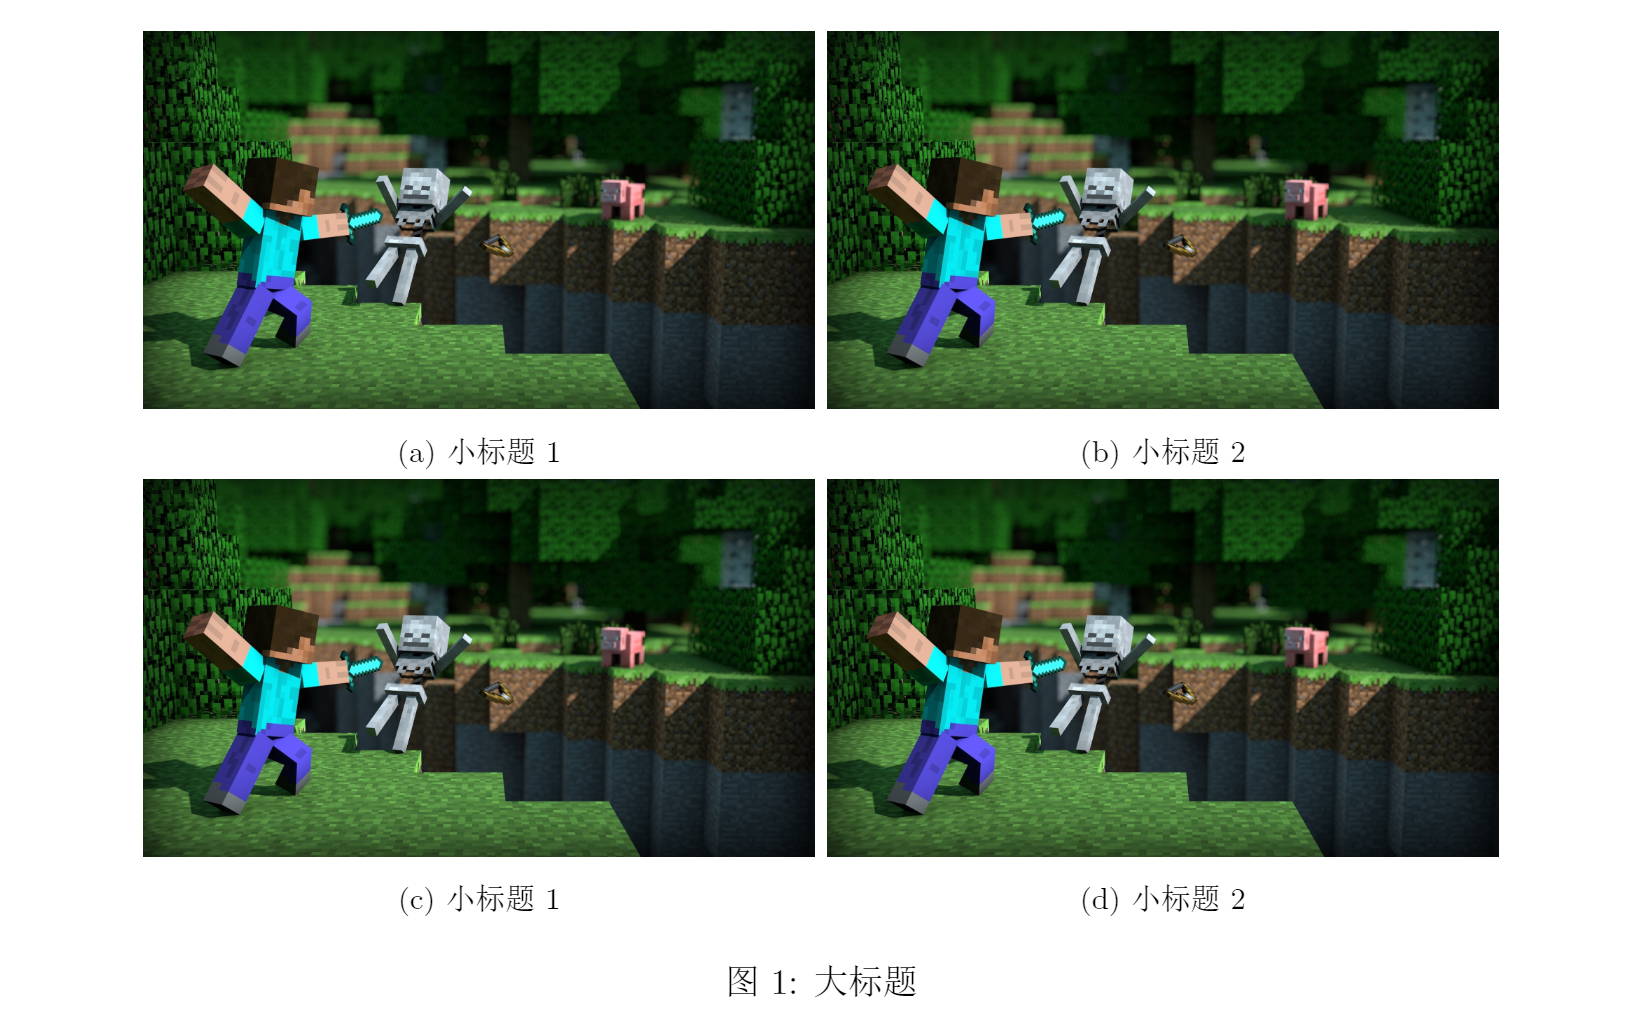
四图平铺排列:
\begin{figure}[!h]
    \centering
    \begin{minipage}[c]{0.45\textwidth}
        \includegraphics[width=1\textwidth]{}% 文件位置
        \subcaption{\centering }% 小标题
        \label{}% 标签
    \end{minipage}
    \begin{minipage}[c]{0.45\textwidth}
        \includegraphics[width=1\textwidth]{}% 文件位置
        \subcaption{\centering }% 小标题
        \label{}% 标签
    \end{minipage}

    \begin{minipage}[c]{0.45\textwidth}
        \includegraphics[width=1\textwidth]{}% 文件位置
        \subcaption{\centering }% 小标题
        \label{}% 标签
    \end{minipage}
    \begin{minipage}[c]{0.45\textwidth}
        \includegraphics[width=1\textwidth]{}% 文件位置
        \subcaption{\centering }% 小标题
        \label{}% 标签
    \end{minipage}
    \caption{\centering }% 大标题
    \label{}% 标签
\end{figure}
公式
公式标号
笔者统一采用 align 环境作为公式环境,默认标号:
\begin{align}
    x^2+1=0\\
    3x+2=1
\end{align}
取消全部编号:
\begin{align*}
    x^2+1=0\\
    3x+2=1
\end{align*}
取消自定义编号:
\begin{align}
    x^2+1=0 \notag\\
    3x+2=1
\end{align}
公式换行
在 align 环境中,采用 \\ 换行,换行自动添加编号,如想合并编号,需要采用下面的方式:
合并编号:
\begin{align}
    \begin{split}
        x^2+1=0 \\
        3x+2=1
    \end{split}
\end{align}

多行公式对齐可利用 & 符号,具体使用方法如下所示:
\begin{align}
        x^2+2x+1&=0 \\
        3x^2+2x&=1
\end{align}

对于较为复杂的含 \right与\left公式,若换行将其打断,可采用在上一行末添加 \right.,下一行初添加\left.的方式。
\begin{align}
  \begin{split}
    \int_{0}^{s_{0}}&\left[\left({~m} \omega^{2} r+\frac{{d} T_{r}}{{~d} s}+F_{r}\right) \delta r+\left(\frac{d T_{\theta}}{d s}+F_{\theta}\right) r \delta \theta \right.\\
&\left. +\left(\frac{{d} T_{z}}{{~d} s}+F_{z}\right) \delta z\right] {d} s=0
  \end{split}
\end{align}

表格
基本操作
小工具:
前往表格生成网站自动生成表格代码:
https://www.latex-tables.com/
采用 Excel 插件Excel2LaTeX,具体使用方法:还在手写LaTeX表格?你可能需要这款神器
三线表:
% 所需宏包提供命令\toprule、\midrule、\bottomrule
\usepackage{booktabs}
\begin{table}[h]
    \centering
    \caption{这是标题}
    \begin{tabular}{ccc}
        \toprule
        A & B & C\\
        \midrule
        1 & 2 & 3\\
        4 & 5 & 6\\
        7 & 8 & 9\\
        \bottomrule
    \end{tabular}
\end{table}

列表格式说明:
l 本列左对齐(小写的L)
c 本列居中
r 本列右对齐
*{(计数)} {(列格式说明)} 将给出的列的格式说明重复多次。
@{ (内容)} 添加任意的内容, 不占表项计数,取消列表间的间隔
t 顶部对齐
b 底部对齐
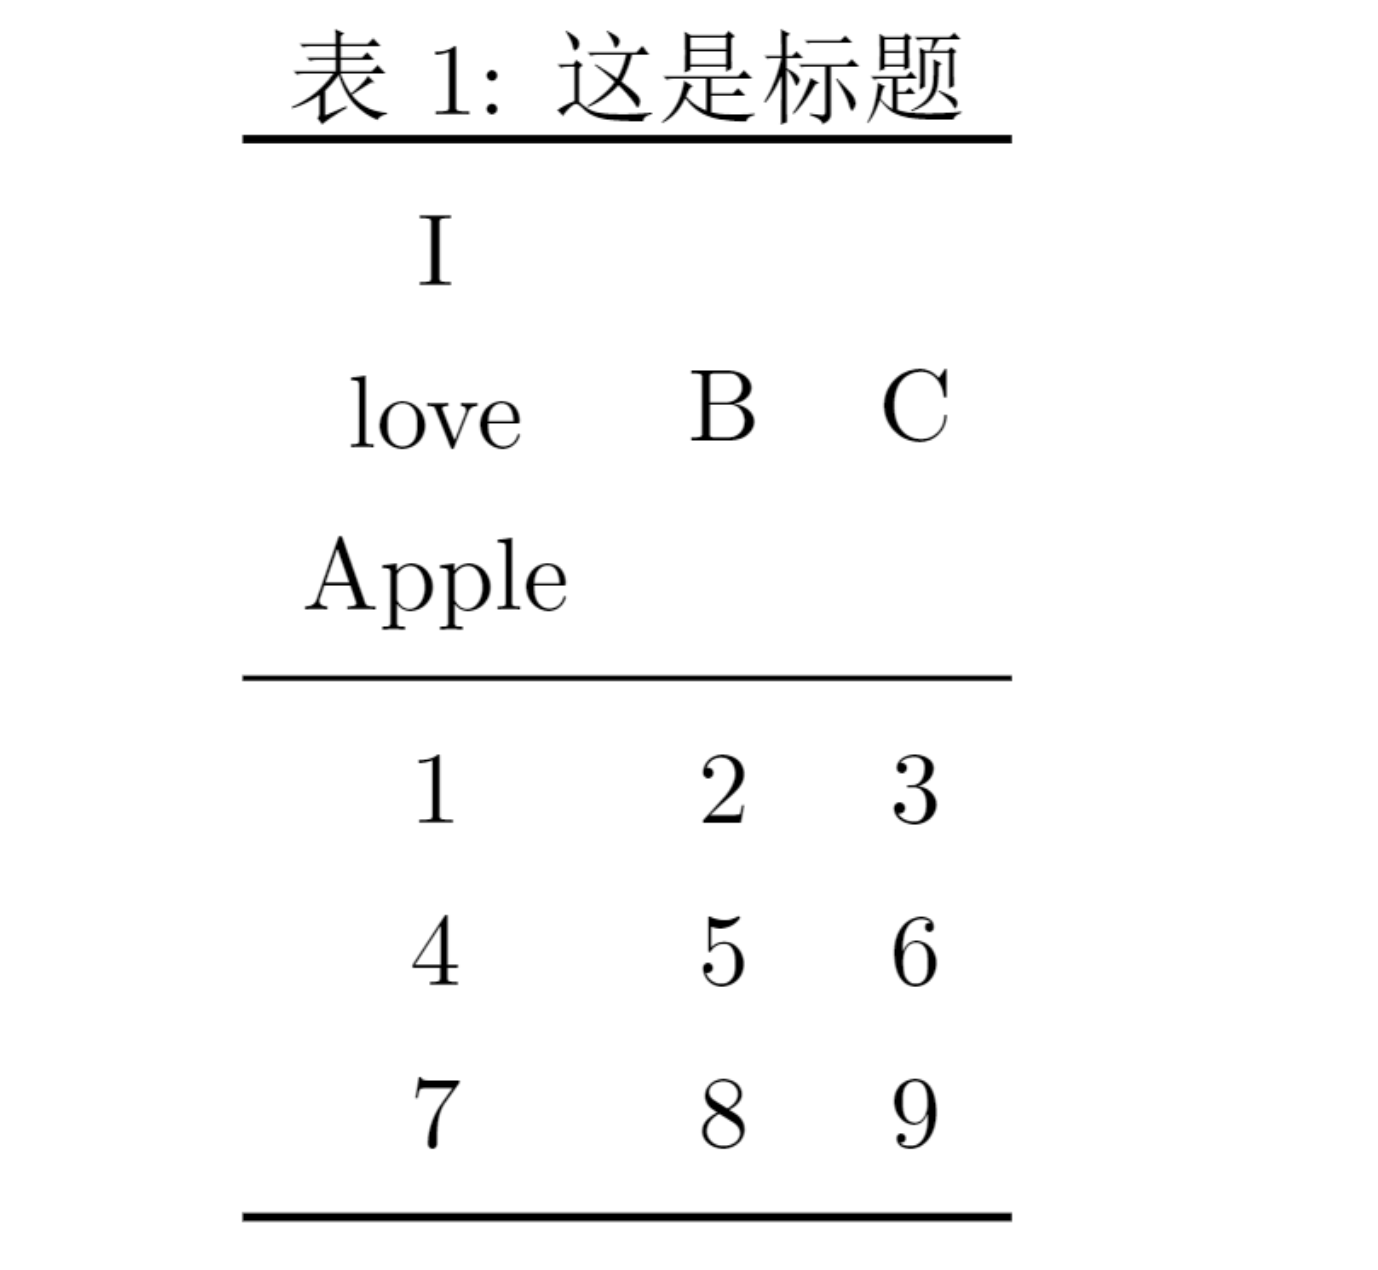
换行操作
如需要在表格中换行,采用\makecell命令即可:
\usepackage{makecell}
\begin{table}
    \centering
    \caption{这是标题}
    \begin{tabular}{ccc}
        \toprule
        \makecell{I\\love\\Apple}&B&C\\
        \midrule
        1&2&3\\
        4&5&6\\
        7&8&9\\
        \bottomrule
    \end{tabular}
\end{table}
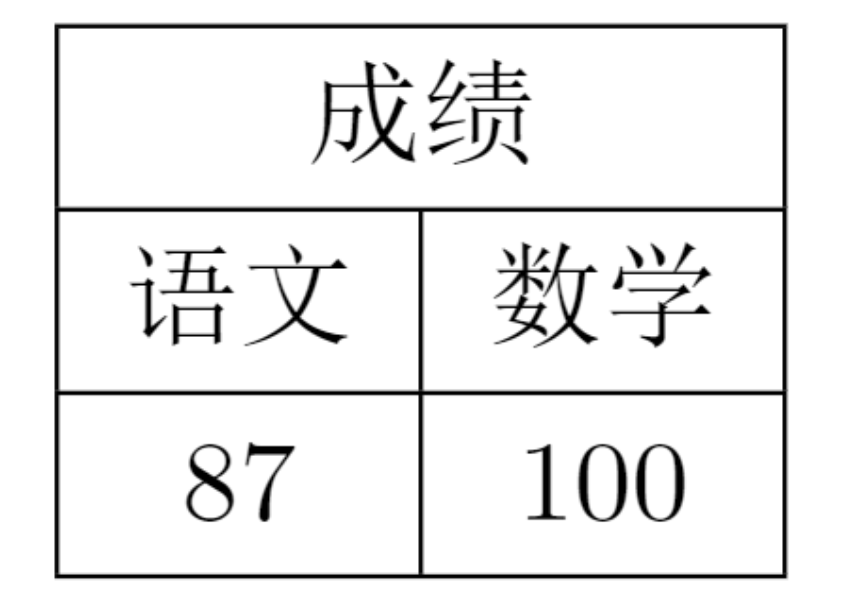
多行合并
列的合并:
我们使用\multicolumn{项数}{新列格式}{内容} 命令将一行中的几个不同的表格合并为一项
\usepackage{multirow}
\begin{table}[h]
    \begin{tabular}{|c|c|c|}
        \hline
        \multicolumn{2}{|c|}{成绩}  \\
        \hline
        语文  &   数学  \\
        \hline
        87    & 100  \\
        \hline
    \end{tabular}
\end{table}
行的合并:
\begin{table}[h]
    \begin{tabular}{|c|c|c|c|}
        \hline
        \multicolumn{3}{|c|}{成绩}  \\
        \hline
        \multirow{2}{*}{小明}&语文  &   数学  \\
        \cline{2-3} %要注意这里线的长度
        &87    & 100  \\
        \hline
    \end{tabular}
\end{table}

行间距
\renewcommand\arraystretch{1.5} 这个命令放于 \begin{table}之前,可有效设置行间距
其他表格长度宽度设置:LaTeX各种表格
参考文献环境
据说 bibtex 可是个好东西,可惜我不会,下面这种傻瓜式的文献引用,我倒用的乐此不疲
参考文献
参考文献格式:
\begin{thebibliography}{编号样本}
\bibitem[记号]{引用标志}文献条目1
\bibitem[记号]{引用标志}文献条目2
……
\end{thebibliography}
具体使用范例:
其中文献条目包括:作者,题目,出版社,年代,版本,页码等。
引用
一般引用:
引用时候要可以采用:\cite{引用标志1,引用标志2,…}
下面来看一个具体的例子
引用一篇文章\cite{article1} \\
引用一本书\cite{book1}\\
等等
\renewcommand\refname{参考文献}
\begin{thebibliography}{99}
\bibitem{article1}文章标题 作者 期刊 年代 页码
\bibitem{book1}书标题 作者 出版社 年代
\end{thebibliography}

注意要用 LaTeX编译两次才能产生正常的引用标号!
上标无括号引用:
将参考文献作为上标引用,可启用overcite 宏包,然后在文献引用处,用cite 命令引用即可。
\usepackage{overcite} %使用宏包

上标有括号引用:
本文采用的是upcite 命令来实现上标引用,其格式为 \newcommand{\upcite}[1]{\textsuperscript{\textsuperscript{\cite{#1}}}}
\usepackage{multirow}
\newcommand{\upcite}[1]{\textsuperscript{\textsuperscript{\cite{#1}}}}
\begin{document}
引用一篇文章\upcite{article1} 引用一本书\cite{book1}等等
\begin{thebibliography}{99}
\bibitem{article1}文章标题 作者 期刊 年代 页码
\bibitem{book1}书标题 作者 出版社 年代
\end{thebibliography}
\end{document}

其他注意:
其中\begin{thebibliography}{99}, 这个数字99 指的是参考文献的项目按照数字进行编号, 并且最多为99个, 如果你有更多的项目, 把这个数字改大一点就行了. 如何你想用对参考文献的项目进行其他类型的编号, 你可以将上面例子中的 thebibliography 环境替换成
\begin{thebibliography}{ABCDEFGHIJK}
\bibitem[authour1]{article1}文章标题 作者 期刊 年代 页码
\bibitem[authour2]{book1}书标题 作者 出版社 年代
\end{thebibliography}
这个时候的引用标记将变成 \bibitem 后面括号[ ]里面的内容了.
另外一种经常用的小技巧是, 把文档中的 Reference 写成中文的”参考文献” 如果文档类是article之类的, 用\renewcommand\refname{参考文献} 如果文档类是book之类的, 用\renewcommand\bibname{参考文献}
其他小点
字体不能加粗问题
问题:
最近用latex写英文文章,用\textbf{}加粗选中字体失效,
解决方法:
引入包
\usepackage[T1]{fontenc}